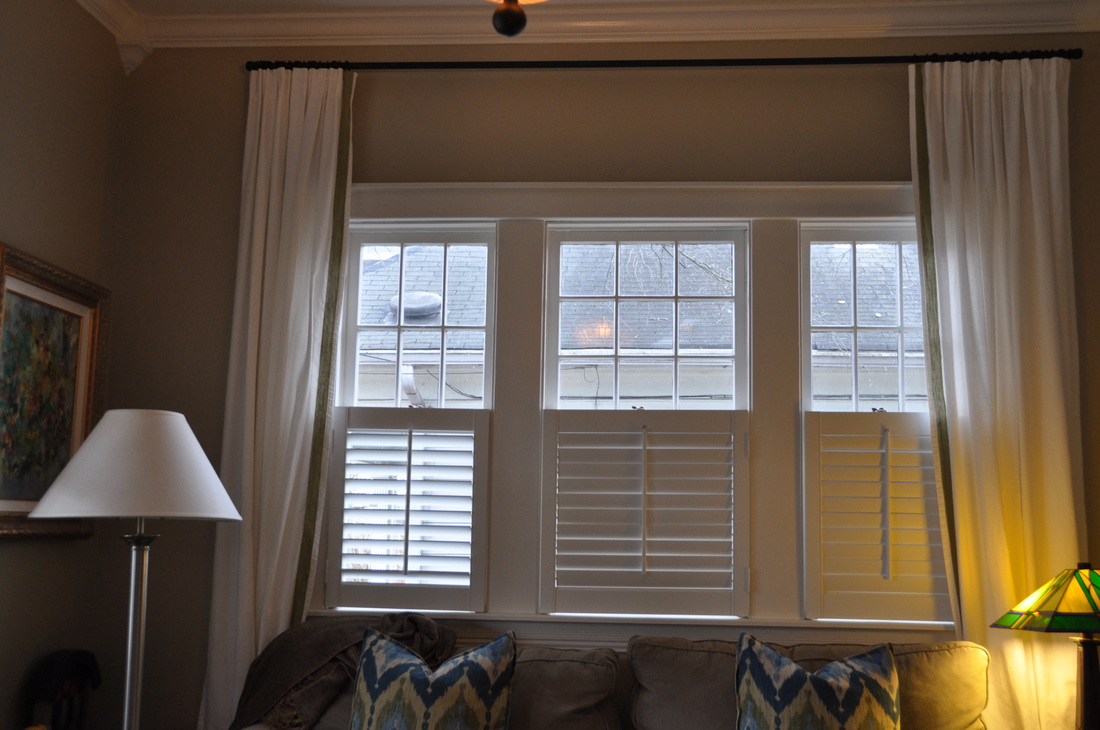
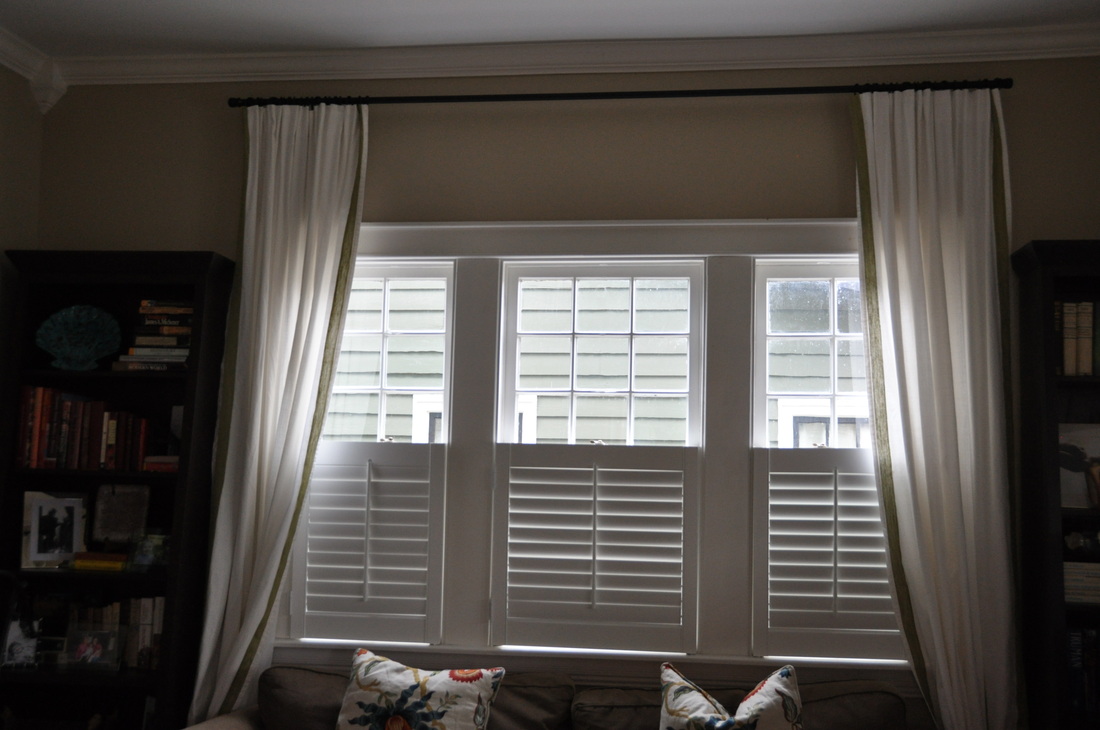
OK, curtain rods can be expensive. But, they don't have to be!!! Electrical Conduit Piping, flat black spray paint, and 2 brackets, you are set!!! The thing I love the most about these curtain rods is that you do not have to have a center bracket, making it such a clean line across the center of the curtains.
Similar to how I started out my idea about the upstairs bench, I thought we would build this entire thing out of plumbers parts and connect the rod directly to the wall with flanges. Here is an example.
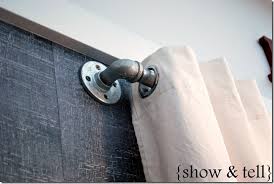
However, like the industrial bench, I am just not that industrial and also worry that it is a fad that will go out of style. So we went with something very simple. Here are the steps:
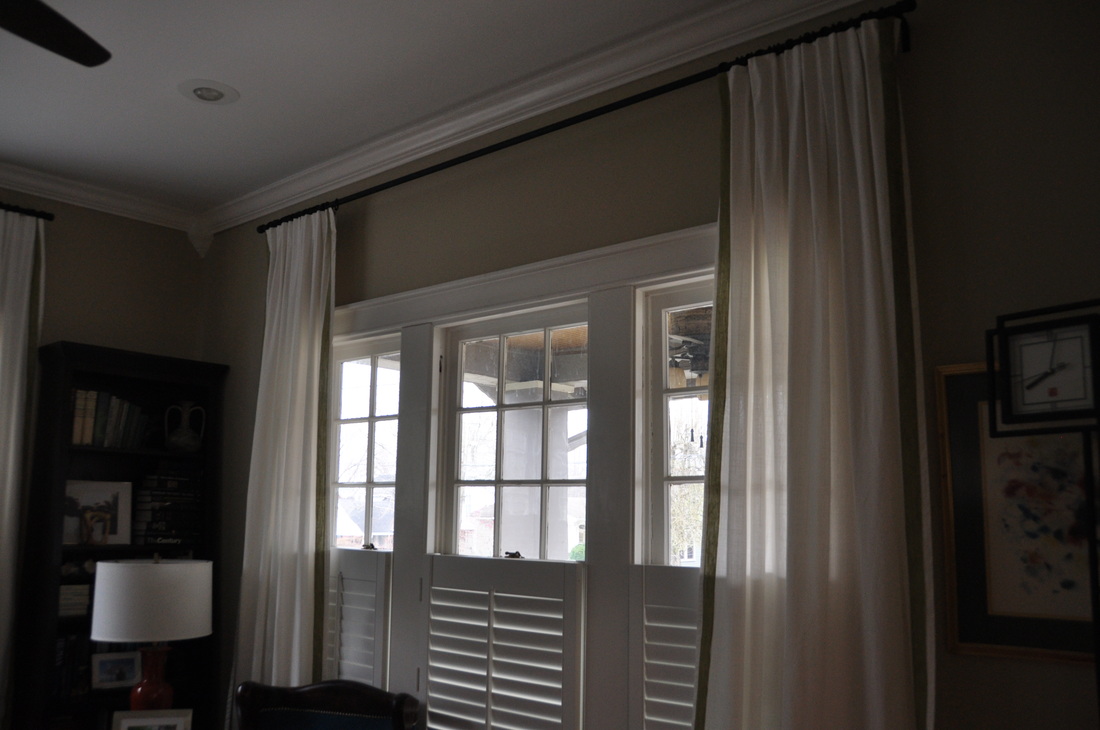
1) Pick out your conduit and have Home Depot cut it to size. We hung out rods high and wide. We left 5 extra inches past each side of the window, but I would do 6-7 inches if I were going to do it again. Buy your L brackets. You will also need to buy the simple brackets and load baring screws (the kind that expand behind the wall and support weight when you cannot hit a stud).
2) Paint all of it. I toyed with different color spray paints, like oil rubbed bronze and even white or a beige that matched the walls. However, the flat black was the perfect modern look that I was going for. There was information out there about using minerals first and priming first the metal. However, I just put about 3 coats of spray paint on the rods, screws, and hooks. I knew that we would not be opening and closing these a lot, so the hooks would not be rubbing on the metal rod and scrap off the paint.
3) Find someone to help you hang them.
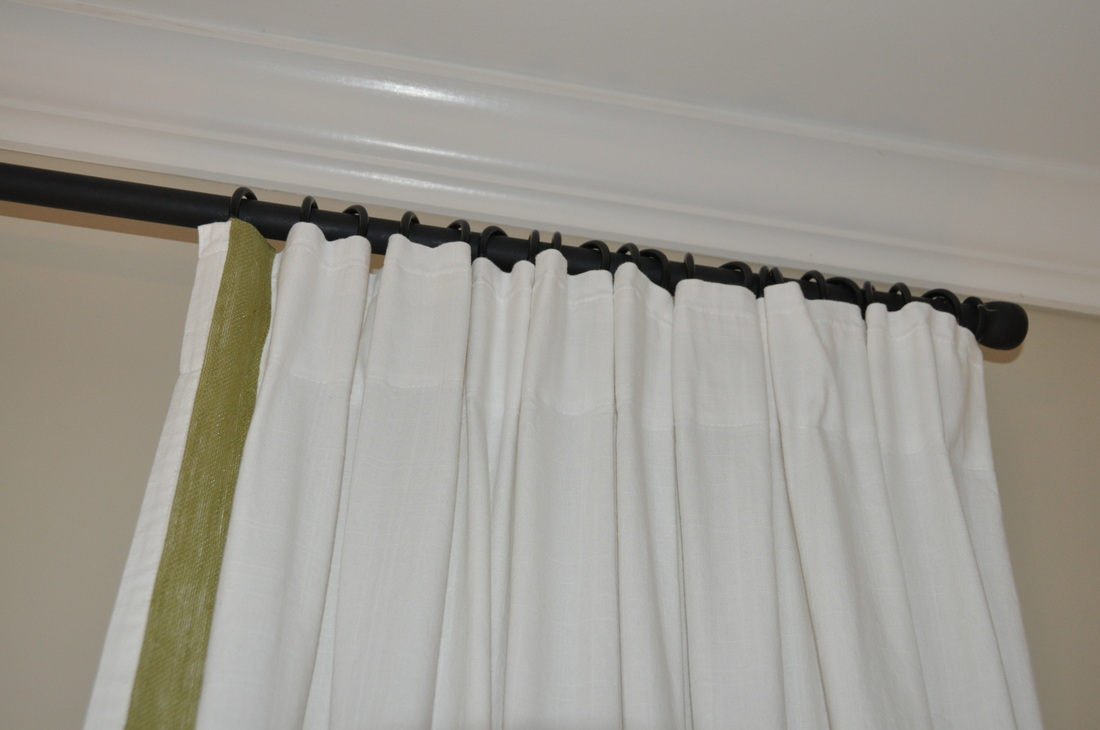
4) Find finials. I found black wooden simple finials from JoAnns that I spray painted black. They worked great and fit on the pipe like a glove. There were not in the "finial" section, but they were with wooden crafting supplies. Home Depot also carries an industrial stopper in the piping supplies that I considered, but I wanted something a little larger.
We are really happy with how these turned out. My favorite blogger, Jenny, from The Little Green Notebook talks about decorating in layers. I really thought the downstairs was complete, but adding the curtains was just one more layer that brought the space together and gave it that soft homey feeling.
1) Pick out your conduit and have Home Depot cut it to size. We hung out rods high and wide. We left 5 extra inches past each side of the window, but I would do 6-7 inches if I were going to do it again. Buy your L brackets. You will also need to buy the simple brackets and load baring screws (the kind that expand behind the wall and support weight when you cannot hit a stud).
2) Paint all of it. I toyed with different color spray paints, like oil rubbed bronze and even white or a beige that matched the walls. However, the flat black was the perfect modern look that I was going for. There was information out there about using minerals first and priming first the metal. However, I just put about 3 coats of spray paint on the rods, screws, and hooks. I knew that we would not be opening and closing these a lot, so the hooks would not be rubbing on the metal rod and scrap off the paint.
3) Find someone to help you hang them.
4) Find finials. I found black wooden simple finials from JoAnns that I spray painted black. They worked great and fit on the pipe like a glove. There were not in the "finial" section, but they were with wooden crafting supplies. Home Depot also carries an industrial stopper in the piping supplies that I considered, but I wanted something a little larger.
We are really happy with how these turned out. My favorite blogger, Jenny, from The Little Green Notebook talks about decorating in layers. I really thought the downstairs was complete, but adding the curtains was just one more layer that brought the space together and gave it that soft homey feeling.
 RSS Feed