This is my second DIY roman shades project. I will share the earlier one with you in another post, but it used the based of vinyl mini blinds to make the shade and required a little sewing. I like how they turned out, but there were no dowel rods, rather just the strings through the hoops holding it up so the sides kind of droop. I wanted something a lot more professional looking since I had my dream fabric to use.
I decided to get a base cloth roman shade and use spray adhesive to place my Zimba fabric on top of the shade. I saw this idea from my favorite blogger, Jenny at Little Green Notebook. Here is what she did using bamboo roman shades as her base.
I decided to get a base cloth roman shade and use spray adhesive to place my Zimba fabric on top of the shade. I saw this idea from my favorite blogger, Jenny at Little Green Notebook. Here is what she did using bamboo roman shades as her base.
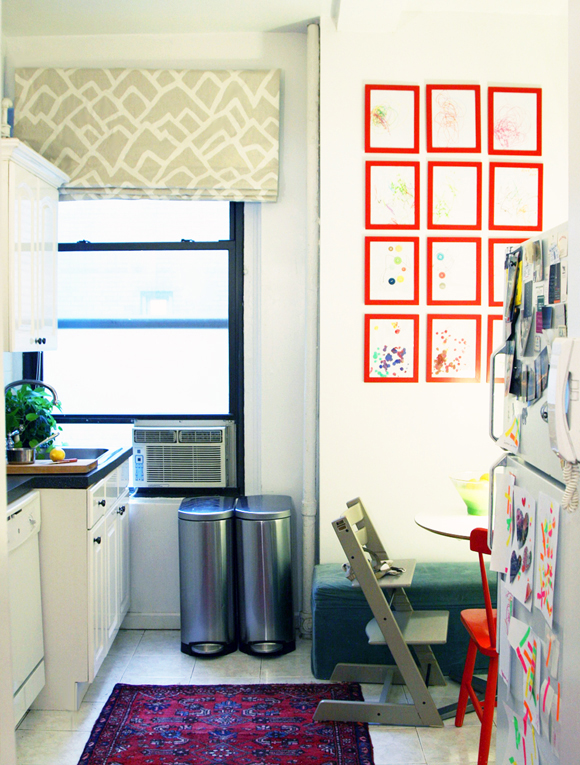
I knew that I did not want a bamboo shade as my base because i thought that you could see the texture and pattern through my fabric, especially when the sun was shining through. So, I started searching for affordable fabric roman shades. At first, the cheapest I was finding was $35 per shade. This was not ideal considering I splurged on the fabric... ($140 for 4 yards). So then I remembered that i had seen some roman shades at Tuesday Morning a while ago and decided to go back. They were there and they were in the bargain bin for $7.99 per shade. Score. Well, after a few trips there (I grabbed 1 that was the wrong length the first time), we were in business. I had my husband hang the shades before I atttached the fabric because I didn't want to mess the fabric up then to find out that the shades didn't work.
The process of attaching the fabric was a no brainer. I didn't take pictures because its was really simple and I was so excited that I forgot to. i used an Elmer's all spray adhesive and Fabri-Tac to secure some of the corners and tight spots. You literally just cut your fabric and add 1-2 inches to each side to wrap the fabric around the back of the shade. Check out this tutorial if you need more info. http://brynalexandra.blogspot.com/2010/07/easy-roman-shade-tutorial.html
The process of attaching the fabric was a no brainer. I didn't take pictures because its was really simple and I was so excited that I forgot to. i used an Elmer's all spray adhesive and Fabri-Tac to secure some of the corners and tight spots. You literally just cut your fabric and add 1-2 inches to each side to wrap the fabric around the back of the shade. Check out this tutorial if you need more info. http://brynalexandra.blogspot.com/2010/07/easy-roman-shade-tutorial.html
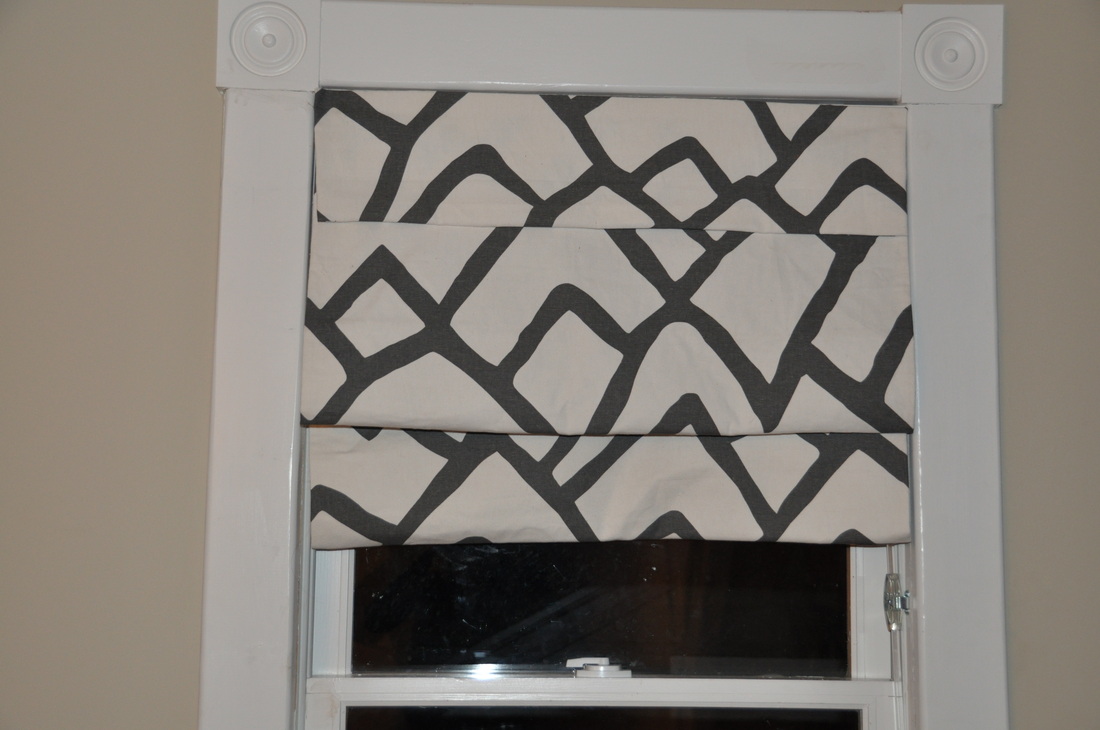
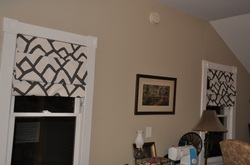
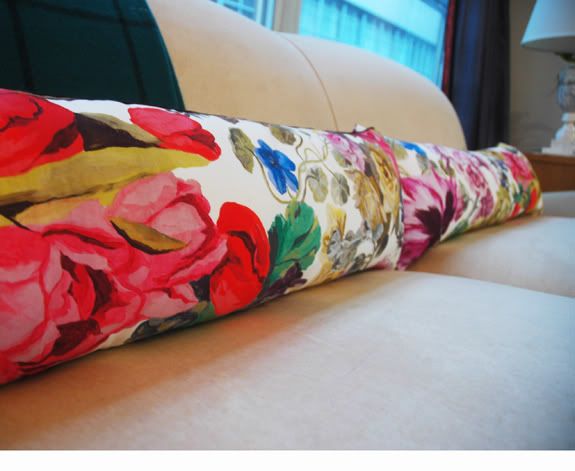
I am really excited. They really help brighten up the room. Also, I have some of this fabric left over, so I get to use it somewhere else in the room, which is to be determined. These shade are also cordless, which looks cleaner and is baby safe. Project #1 Upstairs redo, nailed it. Next, I need to get the new desk ( I think I found the right one off of Craigslist) AND I ordered my Designers Guild Orangerie fabric. Can't wait for it to get here. Here is a peak of it. Hoping to make similar lumbar pillows for my cream sofa too!
 RSS Feed